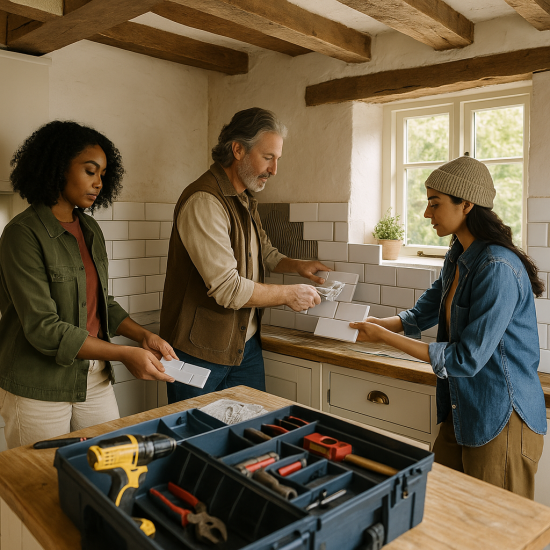
Dream of a cozy English country kitchen at home? Unlock rustic DIY charm today.

If you’re craving the warmth and comfort of an English country kitchen, you’re in the right place. In this guide, we’ll walk you through every step to transform your space with simple, budget-friendly projects that blend timeless style with modern function.
What is an English Country Kitchen?
An English country kitchen celebrates natural materials, soft colors, and handcrafted details. Think painted wooden cabinets, open shelving, farmhouse sinks, and artisanal accents that tell a story.
Popular DIY Upgrades
As shown in the chart below, open shelving is the most sought-after project at 40%, followed by farmhouse sinks (30%), decorative backsplashes (20%), and exposed wood beams (10%).

Step 1: Prep and Paint Your Cabinets
Start by removing hardware and cleaning surfaces. Lightly sand cabinets to ensure paint adhesion. Apply two coats of eggshell or satin finish paint in a soft pastel or neutral tone. Let dry fully before reattaching hardware.
Step 2: Install Cabinet Knobs
Choose vintage-inspired knobs in brass or ceramic. Mark and drill pilot holes for each knob. Use a power drill to secure knobs firmly in place.

Step 3: Add a Subway Tile Backsplash
Measure the area and cut tiles to fit using a wet saw. Apply tile adhesive with a notched trowel and press tiles into place, maintaining even spacing with spacers. Once set, grout between tiles and wipe clean.
Step 4: Create Open Shelving
Select sturdy wood planks and brackets. Level and install brackets securely, then place shelves on top. Style with pottery, glassware, and greenery for a lived-in look.
Step 5: Accessorize with Country Charm
Finish with a farmhouse sink, gingham textiles, and potted herbs. These small touches add personality and warmth.
Enjoy your newly transformed English country kitchen, designed and built by you!